July 14, 2021 . 4 MIN READ
https://www.linode.com/docs/guides/install-gitlab-on-ubuntu-18-04/
GitLab is a complete solution for all aspects of your software development life-cycle. At its core, GitLab serves as your centralized Git repository. It also features built-in tools that represent every task in your development workflow, from planning to testing to releasing. You can host your own GitLab instance on a Linode, instead of using third-party hosting. Self-hosting your software development with GitLab offers total control of your codebase while providing an easy to use interface for team members. GitLab is the most popular self-hosted Git repository, so you’ll benefit from a robust set of integrated tools and an active community.
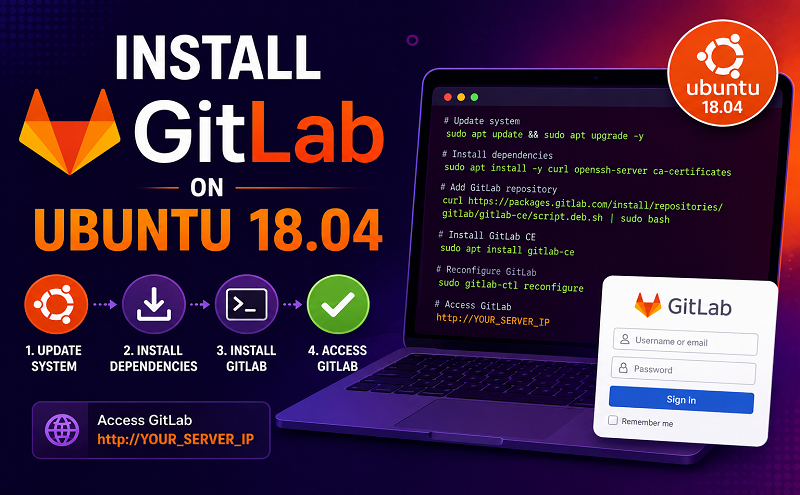
This guide will walk you through the steps to install GitLab on an 8GB Linode running Ubuntu 18.04. This installation can support up to 500 users for general use.
Before installing GitLab you should consider how many users will collaborate on your self-hosted instance, the size of the repositories you will store, and the recommended minimum system requirements. This criteria will will effect the needed storage, CPU, and memory. This guide will use an 8GB Linode plan to fulfill GitLab’s minimum system requirements. The suggested hardware is as follows:
sudo wherever possible. Complete the sections of our Securing Your Server to create a standard user account, harden SSH access and remove unnecessary network services.sudo apt-get update && sudo apt-get upgrade
sudo apt-get install -y curl openssh-server ca-certificates
sudo apt-get install -y postfix
When prompted, select Internet Site and press Enter. Use your server’s external DNS for mail name and press Enter.
This guide may involve or result in sending email. In an effort to fight spam, Linode restricts …
curl https://packages.gitlab.com/install/repositories/gitlab/gitlab-ee/script.deb.sh | sudo bash
gitlab.example.com with the domain you will use to access your GitLab installation. The installation will automatically configure and start GitLab.
sudo EXTERNAL_URL="http://gitlab.example.com" apt-get install gitlab-ee
root as the username and the password you just created to log in.
Note
If you did not generate an SSL certificate using Certbot prior to the installation of GitLab, you may need to first stop GitLab and then generate the SSL certificate to bypass any errors related to Certbot’s certificate challenge. To stop GitLab run the following command:
sudo gitlab-ctl stop
Once you are done generating the certificate, restart GitLab with the following command:
sudo gitlab-ctl start
/etc/gitlab/gitlab.rb to use HTTPS. This is done by modifying the value of external_url to use https instead of http:
|
|
/etc/gitlab/gitlab.rb file to point to the location of your SSL certificate and key. The path should be the location used by Certbot to store the certificates when they were initially created.
|
|
|
|
sudo gitlab-ctl reconfigure
https.You are now ready to begin using GitLab as your remote version control system. Refer to GitLab’s official documentation for details on how to get started administering your GitLab instance.
You may wish to consult the following resources for additional information on this topic. While these are provided in the hope that they will be useful, please note that we cannot vouch for the accuracy or timeliness of externally hosted materials.