July 9, 2021 . 6 MIN READ

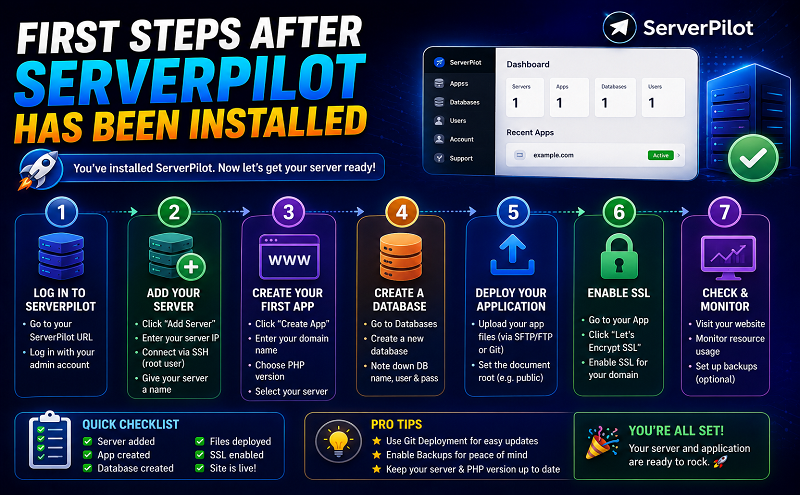
If you see this message in your online ServerPilot panel, your Ubuntu web server is ready to host your websites. Or maybe not?
If you host only a single WordPress website with your VPS, this setup might be enough. If you like to do a bit more, than follow these steps and make your server just a bit better.
Do you like ServerPilot like I do? Write a review about ServerPilot at G2 Crowd and earn $5 (you can earn even more if you review other services too).
Create a SSH session with root as user, enter command below and enter your root password. If you use SSH keys for authentication a password is not necessary.
# ssh root@xxx.xxx.xxx.xxx
Most of my servers are located in Amsterdam and the first thing I do is changing the locale settings (location and time settings)
# locale-gen en_US en_US.UTF-8 nl_NL nl_NL.UTF-8# dpkg-reconfigure locales# dpkg-reconfigure tzdata
After this you need to choose your location to get the right time zone. You will see something like:
Current default time zone: ‘Europe/Amsterdam’Local time is now: Thu May 21 22:10:00 CEST 2015.Universal Time is now: Thu May 21 20:10:00 UTC 2015.
I have a mix of servers from DigitalOcean and from Vultr. The following step is for Vultr servers only. To add your hostname to the server, you need to edit the file “/etc/hostname”. Replace guest.vultr with your own hostname (f.e. vps1.yourdomain.com). Next use the following command to set the hostname permanently:
# hostname -F /etc/hostname
After you’ve opened a new SSL session, you will notice the change in your SSH client window.
Before I continue to the next part I will install the tool unzip because most scripts are compressed. Enter this command to install the tool. I like to install imagemagick, too.
# apt-get install zip unzip imagemagick
ServerPilot doesn’t provide a lot of features for MySQL. You can create databases with a single user from their panel. For all other database transactions you need a client like phpMyAdmin. I use the “default” app for phpMyAdmin. Create in ServerPilot your first app and name it “0default”. Skip the domain name and choose the user “serverpilot”. After the app is created return to the command line from your server and enter:
# su serverpilot$ cd ~/apps/0default
From here I will download the latest version op phpMyAdmin, unzip the zip file and move the files into the “public” directory
$ wget https://github.com/phpmyadmin/phpmyadmin/archive/STABLE.zip$ unzip STABLE.zip$ mv phpmyadmin-STABLE/* public/
With the last action you’re able to use phpMyAdmin from your server’s hostname or IP address. Let’s limit the access to phpMyAdmin for your own IP address. Create inside the “public” directory a file named “.htaccess” and paste this code (using your own IP address).
AuthUserFile /dev/nullAuthGroupFile /dev/nullAuthName “Password Protected Area”AuthType Basicorder deny,allowdeny from all# whitelist home IP addressallow from xxx.xxx.xxx.xxx
The default time-out for your phpMyAdmin session is limited to 14400 seconds. Since the access is limited to your IP address, you can raise that value. Open the file “config.sample.inc.php” and add this row (add also a value for $cfg[‘blowfish_secret’]):
$cfg[‘LoginCookieValidity’] = 86400; // 1 day
Save the file under the new name “config.inc.php”. Create another file with the name “.user.ini” and add this directive for the PHP configuration.
session.gc_maxlifetime = 86400
The tool AutoMySQLBackup is a great and easy way to backup your databases frequently. As root enter:
# apt-get install automysqlbackup
Before we run this tool the first time, I like to change the default backup location. Edit the file “/etc/default/automysqlbackup” and change the BACKUPDIR value to:
BACKUPDIR=”/srv/users/serverpilot/apps/automysqlbackup”
Run AutoMySQLBackup the first time (as root) with:
# automysqlbackup
Like the name mentions, AutoMySQLBackup will create the database backups from now on automatically. Let’s create a cronjob for mysqlcheck, a tool that will optimize all your MySQL tables. Enter as root crontab -e and place this job to run the tool every day at 8:15 am.
15 8 * * * mysqlcheck -o –all-databases > /dev/null 2>&1
The default firewall settings are set by ServerPilot. If you check these settings with ufw status you will see something like:
To Action From– —— —-22/tcp ALLOW Anywhere80/tcp ALLOW Anywhere443/tcp ALLOW Anywhere68/udp ALLOW Anywhere22/tcp (v6) ALLOW Anywhere (v6)80/tcp (v6) ALLOW Anywhere (v6)443/tcp (v6) ALLOW Anywhere (v6)68/udp (v6) ALLOW Anywhere (v6)
These firewall settings are good except for port 22 (SSH). It’s a good strategy to restrict the access for the SSH port to your own IP address (or more if you work on multiple locations). First disable the firewall option inside the ServerPilot control panel, otherwise SP will overrule your modifications later.
Now we need to re-enable the UFW from the command line (we need to add the default rules again). Don’t destroy your current SSH session!
# ufw enable# ufw allow www# ufw allow https/tcp# ufw allow bootpc/udp# ufw allow ssh/tcp
If your home or office location has a static IP address, you can deny SSH access and allow access to all ports and services from your own IP address.
# ufw delete allow ssh/tcp# ufw allow from xxx.xxx.xxx.xxx
Open en second terminal and connect to your server for a test that your firewall rules doesn’t deny your own access.
I use the standard backup function offered by DO or Vultr for all my servers, but this option is useful for a full server recovery. If you need to restore single files or apps, it’s better to have a second backup option. I use a 3rd party backup location and rsync for secondary backups.
First I create a pair of SSH keys (as root user):
# ssh-keygen
Hit enter to accept the default location and leave the pass-phrase empty (twice). Next use the following command to copy your public key to your external backup location.
# cat ~/.ssh/id_rsa.pub | ssh user@123.45.67.89 “mkdir -p ~/.ssh && cat >> ~/.ssh/authorized_keys”
Create on your backup location a directory called “daily-backup” to avoid a missing directory error (I do this using my sFTP client). I backup all user directories including the user “serverpilot” to include my database backups, too.
I don’t like to backup the files from the “tmp” and “log” directory. So I add them (and maybe others) to a file called “exclude.txt”, which I create inside the root directory. Add the following rules to the file.
log/*tmp/*
Now it’s time to run the first backup, execute this command:
# rsync -avz –delete –exclude-from “/root/exclude.txt” -e “ssh -i /root/.sshid_rsa” “/srv/users” user@123.45.67.89:daily-backup
If you first backup was successful, you will see a list of files and at the end a message like:
sent 29,890,197 bytes received 40,770 bytes 6,651,326.00 bytes/sectotal size is 76,150,004 speedup is 2.54
If your backup works fine, create a CRON job for the rsync command you executed before.
45 9 * * * rsync -avz –delete –exclude-from “/root/exclude.txt” -e “ssh -i /root/.sshid_rsa” “/srv/users” user@123.45.67.89:daily-backup >/dev/null 2>&1
Tip! Create a second CRON job for a backup once a week to get a weekly backup as well.
NewRelic offers several monitoring options. I used PHP application monitoring for a while, but it doesn’t deliver accurate data for the PHP-FPM processes. I use server monitoring for all my servers, to get some basic information and notifications whenever my server is in trouble. To install NewRelic follow these steps (you need to signupfor an account to get your own (free) license key).
# echo deb http://apt.newrelic.com/debian/ newrelic non-free >> /etc/apt/sources.list.d/newrelic.list# wget -O- https://download.newrelic.com/548C16BF.gpg | apt-key add -# apt-get update# apt-get install newrelic-sysmond# nrsysmond-config –set license_key=YOUR_LICENSE_KEY# /etc/init.d/newrelic-sysmond start
This is currently my additional configuration for each new VPS I use with ServerPilot on top. If you like to monitor you server I suggest to install the tool htop:
# apt-get install htop
To get detailed information about RAM usage, you can try this Python script from Pixelb. I use this script from the root directory like:
# cd ~# wget https://raw.githubusercontent.com/pixelb/ps_mem/master/ps_mem.py# python ~/ps_mem.py -s -w 15
Please leave a comment if you have any question about this “guide” or if you have any suggestions.
http://www.tutdepot.com/first-steps-after-serverpilot-has-been-installed/