July 6, 2021 . 3 MIN READ
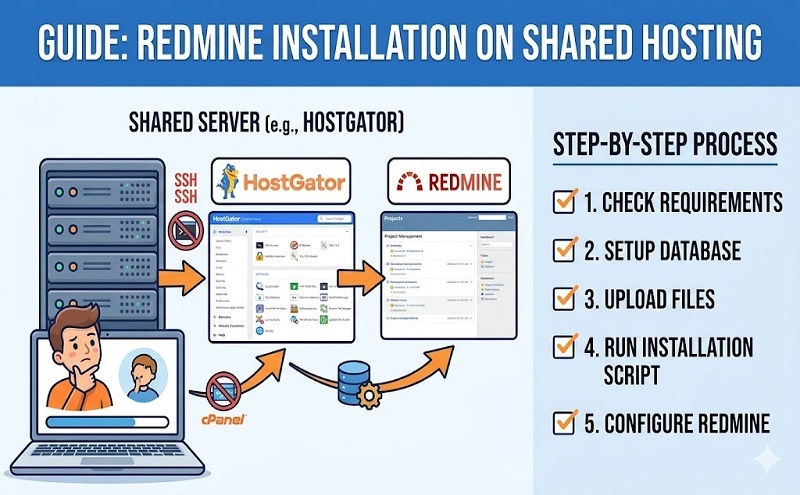
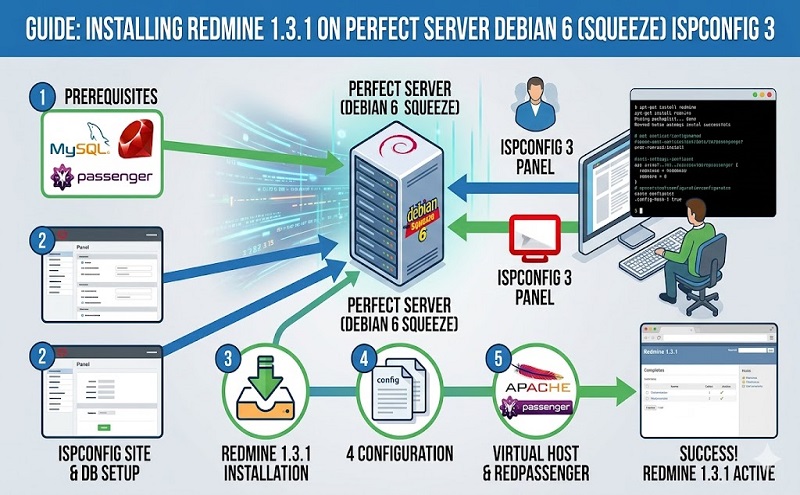
This tutorial explains how to install Redmine 2.1.x for one of your clients in an ISPConfig 3 server setup running on Ubuntu 12.04 Precise Pangolin. It does not explain how to install ISPConfig 3 on Ubuntu 12.04 Precise Pangolin. An excellent tutorial on the steps involved to do that can be found here.
Once you get ISPConfig running correctly you should log in and setup your “Client” account in ISPConfig and then create a new “Site” to run the Redmine installation for this client.
Next we start by installing the required ruby / rails and apache2 modules needed to run Redmine 2.1.x. These instructions assume you have root ssh access to the server but they could easily be run by a user with the correct sudo privileges.
# apt-get install ruby-full libmysqlclient-dev libmagickwand-dev libapache2-mod-passenger
Navigate to the directory for the new “Site” that was setup. You should of course change client1 and web1 for the appropriate client number in your ISPConfig 3 setup.
# cd /var/www/clients/client1/web1/
At the the time of this writing the latest Redmine 2.1.x release was at 2.1.2 so we download the tar/gz from the ruby forge website, unzip it and make it the “web” directory of your new Site.
# wget http://rubyforge.org/frs/download.php/76495/redmine-2.1.2.tar.gz
# gunzip redmine-2.1.2.tar.gz
# tar -xf redmine-2.1.2.tar
# mv web web_orig
# mv redmine-2.1.2 web
Now you should create a new mysql database for your client’s Redmine installation in ISPConfig 3. Remember the username and password you setup for this database as you will need this for the next step when you change the Redmine database configuration.
# cp ./web/config/database.yml.example config/database.yml
production:
adapter: mysql
database: c1_redmine
host: localhost
username: c1_redmine
password: <enter-the-password>
# apt-get install rake ruby-bundler
# cd /var/www/clients/client1/web1/web/config/
# bundle install –without development test postgresql sqlite
This should out put something similar to the following…
Fetching source index for http://rubygems.org/
Installing rake (0.9.2.2)
Installing i18n (0.6.1)
Installing multi_json (1.3.6)
Installing activesupport (3.2.8)
Installing builder (3.0.0)
Installing activemodel (3.2.8)
Installing erubis (2.7.0)
Installing journey (1.0.4)
Installing rack (1.4.1)
Installing rack-cache (1.2)
Installing rack-test (0.6.2)
Installing hike (1.2.1)
Installing tilt (1.3.3)
Installing sprockets (2.1.3)
Installing actionpack (3.2.8)
Installing mime-types (1.19)
Installing polyglot (0.3.3)
Installing treetop (1.4.10)
Installing mail (2.4.4)
Installing actionmailer (3.2.8)
Installing arel (3.0.2)
Installing tzinfo (0.3.33)
Installing activerecord (3.2.8)
Installing activeresource (3.2.8)
Using bundler (1.0.15)
Installing coderay (1.0.7)
Installing fastercsv (1.5.5)
Installing rack-ssl (1.3.2)
Installing json (1.7.5) with native extensions
Installing rdoc (3.12)
Installing thor (0.16.0)
Installing railties (3.2.8)
Installing jquery-rails (2.0.3)
Installing mysql (2.8.1) with native extensions
Installing net-ldap (0.3.1)
Installing ruby-openid (2.1.8)
Installing rack-openid (1.3.1)
Installing rails (3.2.8)
Installing rmagick (2.13.1) with native extensions
Your bundle is complete! Use `bundle show [gemname]` to see where a bundled gem is installed.
Make sure the above line is show before continuing…
# rake generate_secret_token
# RAILS_ENV=production rake db:migrate
# RAILS_ENV=production rake redmine:load_default_data
You should see the output from creating the database and also a message stating that the default data has been loaded.
# a2enmod passenger
# chown web3:client1 /var/www/clients/client1/web3/web/ -R
# chmod 755 /var/www/clients/client1/web3/web/
# mkdir /var/www/clients/client1/web3/web/public/plugin_assets
# chmod -R 755 /var/www/clients/client1/web3/web/public/plugin_assets
# chmod -R 755 redmine/files
You do this by adding the following to the Apache Directives section of your ISPConfig Site configuration.
DocumentRoot /var/www/clients/client1/web1/web/public/
When ISPConfig’s cron update runs and apache2 restarts you should be able to go to the URL for the Site you have setup and you should see your Redmine installation.
Hope this helps those wanting to run Redmine for their ISPConfig clients Of course keeping this up to date is another story