July 6, 2021 . 9 MIN READ
The following procedures help you install the Apache web server with PHP and MySQL support on your Amazon Linux instance (sometimes called a LAMP web server or LAMP stack). You can use this server to host a static website or deploy a dynamic PHP application that reads and writes information to a database.
Prerequisites
This tutorial assumes that you have already launched an instance with a public DNS name that is reachable from the Internet. For more information, see Step 1: Launch an Instance. You must also have configured your security group to allow SSH (port 22), HTTP (port 80), and HTTPS (port 443) connections. For more information about these prerequisites, see Setting Up with Amazon EC2.
Important
If you are trying to set up a LAMP web server on an Ubuntu instance, this tutorial will not work for you. These procedures are intended for use with Amazon Linux. For more information about other distributions, see their specific documentation. For information about LAMP web servers on Ubuntu, see the Ubuntu community documentation ApacheMySQLPHP topic.
To install and start the LAMP web server on Amazon Linux
Note
The -y option installs the updates without asking for confirmation. If you would like to examine the updates before installing, you can omit this option.
[ec2-user ~]$ sudo yum update -y
[ec2-user ~]$ sudo yum install -y httpd24 php56 mysql55-server php56-mysqlnd
Starting httpd: [ OK ]
[ec2-user ~]$ sudo chkconfig httpd on
Tip
The chkconfig command does not provide any confirmation message when you successfully enable a service. You can verify that httpd is on by running the following command.
[ec2-user ~]$ chkconfig –list httpdhttpd 0:off 1:off 2:on 3:on 4:on 5:on 6:off
Here, httpd is on in runlevels 2, 3, 4, and 5 (which is what you want to see).
Tip
If you are unable to see the Apache test page, check that the security group you are using contains a rule to allow HTTP (port 80) traffic. For information about adding an HTTP rule to your security group, see Adding Rules to a Security Group.
Important
If you are not using Amazon Linux, you may also need to configure the firewall on your instance to allow these connections. For more information about how to configure the firewall, see the documentation for your specific distribution.
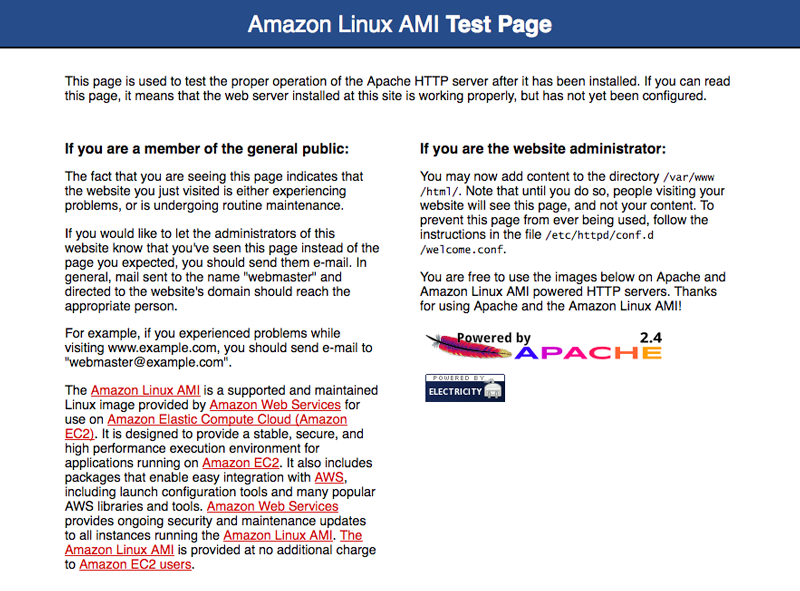
Note
This test page appears only when there is no content in /var/www/html. When you add content to the document root, your content appears at the public DNS address of your instance instead of this test page.
Apache httpd serves files that are kept in a directory called the Apache document root. The Amazon Linux Apache document root is /var/www/html, which is owned by root by default.
[ec2-user ~]$ ls -l /var/wwwtotal 16drwxr-xr-x 2 root root 4096 Jul 12 01:00 cgi-bindrwxr-xr-x 3 root root 4096 Aug 7 00:02 errordrwxr-xr-x 2 root root 4096 Jan 6 2012 htmldrwxr-xr-x 3 root root 4096 Aug 7 00:02 icons
To allow ec2-user to manipulate files in this directory, you need to modify the ownership and permissions of the directory. There are many ways to accomplish this task; in this tutorial, you add a www group to your instance, and you give that group ownership of the /var/www directory and add write permissions for the group. Any members of that group will then be able to add, delete, and modify files for the web server.
To set file permissions
[ec2-user ~]$ sudo groupadd www
[ec2-user ~]$ sudo usermod -a -G www ec2-user
Important
You need to log out and log back in to pick up the new group. You can use the exit command, or close the terminal window.
[ec2-user ~]$ exit
ec2-user wheel www
[ec2-user ~]$ sudo chown -R root:www /var/www
[ec2-user ~]$ find /var/www -type d -exec sudo chmod 2775 {} \;
[ec2-user ~]$ find /var/www -type f -exec sudo chmod 0664 {} \;
Now ec2-user (and any future members of the www group) can add, delete, and edit files in the Apache document root. Now you are ready to add content, such as a static website or a PHP application.
(Optional) Secure your web server
A web server running the HTTP protocol provides no transport security for the data that it sends or receives. When you connect to an HTTP server using a web browser, the URLs that you enter, the content of web pages that you receive, and the contents (including passwords) of any HTML forms that you submit are all visible to eavesdroppers anywhere along the network pathway. The best practice for securing your web server is to install support for HTTPS (HTTP Secure), which protects your data with SSL/TLS encryption.
For information about enabling HTTPS on your server, see Tutorial: Configure Apache Web Server on Amazon Linux to use SSL/TLS.
To test your LAMP web server
If your server is installed and running, and your file permissions are set correctly, your ec2-user account should be able to create a simple PHP file in the /var/www/html directory that will be available from the Internet.
[ec2-user ~]$ echo “<?php phpinfo(); ?>” > /var/www/html/phpinfo.php
Tip
If you get a “Permission denied” error when trying to run this command, try logging out and logging back in again to pick up the proper group permissions that you configured in To set file permissions.
http://my.public.dns.amazonaws.com/phpinfo.php
You should see the PHP information page:
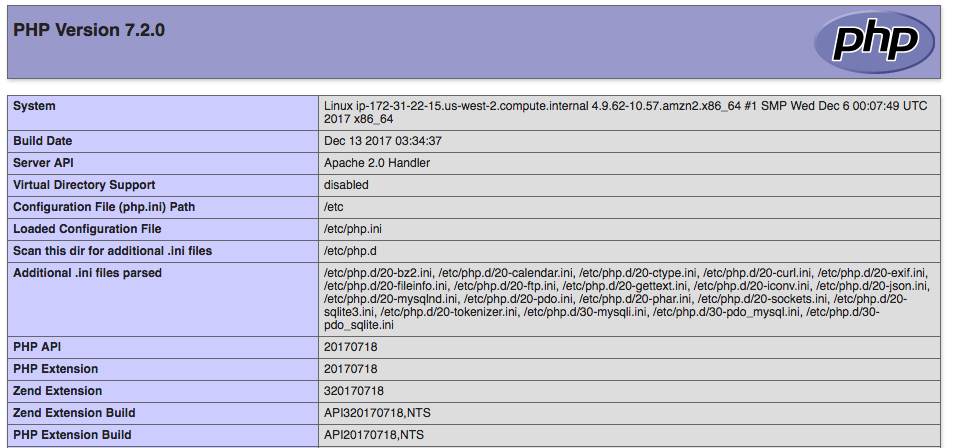
Note
If you do not see this page, verify that the /var/www/html/phpinfo.php file was created properly in the previous step. You can also verify that all of the required packages were installed with the following command (the package versions in the second column do not need to match this example output):
[ec2-user ~]$ sudo yum list installed httpd24 php56 mysql55-server php56-mysqlndLoaded plugins: priorities, update-motd, upgrade-helper959 packages excluded due to repository priority protectionsInstalled Packageshttpd24.x86_64 2.4.16-1.62.amzn1 @amzn-mainmysql55-server.x86_64 5.5.45-1.9.amzn1 @amzn-mainphp56.x86_64 5.6.13-1.118.amzn1 @amzn-mainphp56-mysqlnd.x86_64 5.6.13-1.118.amzn1 @amzn-main
If any of the required packages are not listed in your output, install them with the sudo yum install package command.
[ec2-user ~]$ rm /var/www/html/phpinfo.php
To secure the MySQL server
The default installation of the MySQL server has several features that are great for testing and development, but they should be disabled or removed for production servers. The mysql_secure_installation command walks you through the process of setting a root password and removing the insecure features from your installation. Even if you are not planning on using the MySQL server, performing this procedure is a good idea.
[ec2-user ~]$ sudo mysql_secure_installation
Note
Setting a root password for MySQL is only the most basic measure for securing your database. When you build or install a database-driven application, you typically create a database service user for that application and avoid using the root account for anything but database administration.
17.[ec2-user ~]$ sudo service mysqld stop
Stopping mysqld: [ OK ]
[ec2-user ~]$ sudo chkconfig mysqld on
You should now have a fully functional LAMP web server. If you add content to the Apache document root at/var/www/html, you should be able to view that content at the public DNS address for your instance.
(Optional) Install phpMyAdmin
phpMyAdmin is a web-based database management tool that you can use to view and edit the MySQL databases on your EC2 instance. Follow the steps below to install and configure phpMyAdmin on your Amazon Linux instance.
Important
We do not recommend using phpMyAdmin to access a LAMP server unless you have enabled SSL/TLS in Apache; otherwise, your database administrator password and other data will be transmitted insecurely across the Internet. For information about configuring a secure web server on an EC2 instance, see Tutorial: Configure Apache Web Server on Amazon Linux to use SSL/TLS.
[ec2-user ~]$ sudo yum-config-manager –enable epel
[ec2-user ~]$ sudo yum install -y phpMyAdmin
Note
Answer y to import the GPG key for the EPEL repository when prompted.
[ec2-user ~]$ sudo sed -i -e ‘s/127.0.0.1/your_ip_address/g’ /etc/httpd/conf.d/phpMyAdmin.conf
Starting httpd: [ OK ]
Starting mysqld: [ OK ]
http://my.public.dns.amazonaws.com/phpmyadmin
You should see the phpMyAdmin login page:
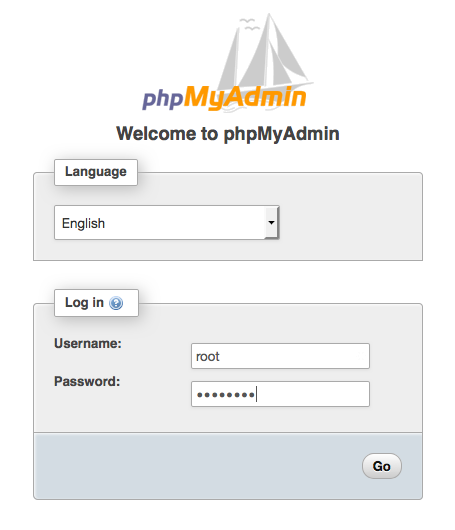
Note
If you get a 403 Forbidden error, verify that you have set the correct IP address in the/etc/httpd/conf.d/phpMyAdmin.conf file. You can see what IP address the Apache server is actually getting your requests from by viewing the Apache access log with the following command:
[ec2-user ~]$ sudo tail -n 1 /var/log/httpd/access_log | awk ‘{ print $1 }’205.251.233.48
Repeat Step 3.b, replacing the incorrect address that you previously entered with the address returned here; for example:
[ec2-user ~]$ sudo sed -i -e ‘s/previous_ip_address/205.251.233.48/g’ /etc/httpd/conf.d/phpMyAdmin.conf
After you’ve replaced the IP address, restart the httpd service with Step 4.